
How to Make The Perfect Pizza Dough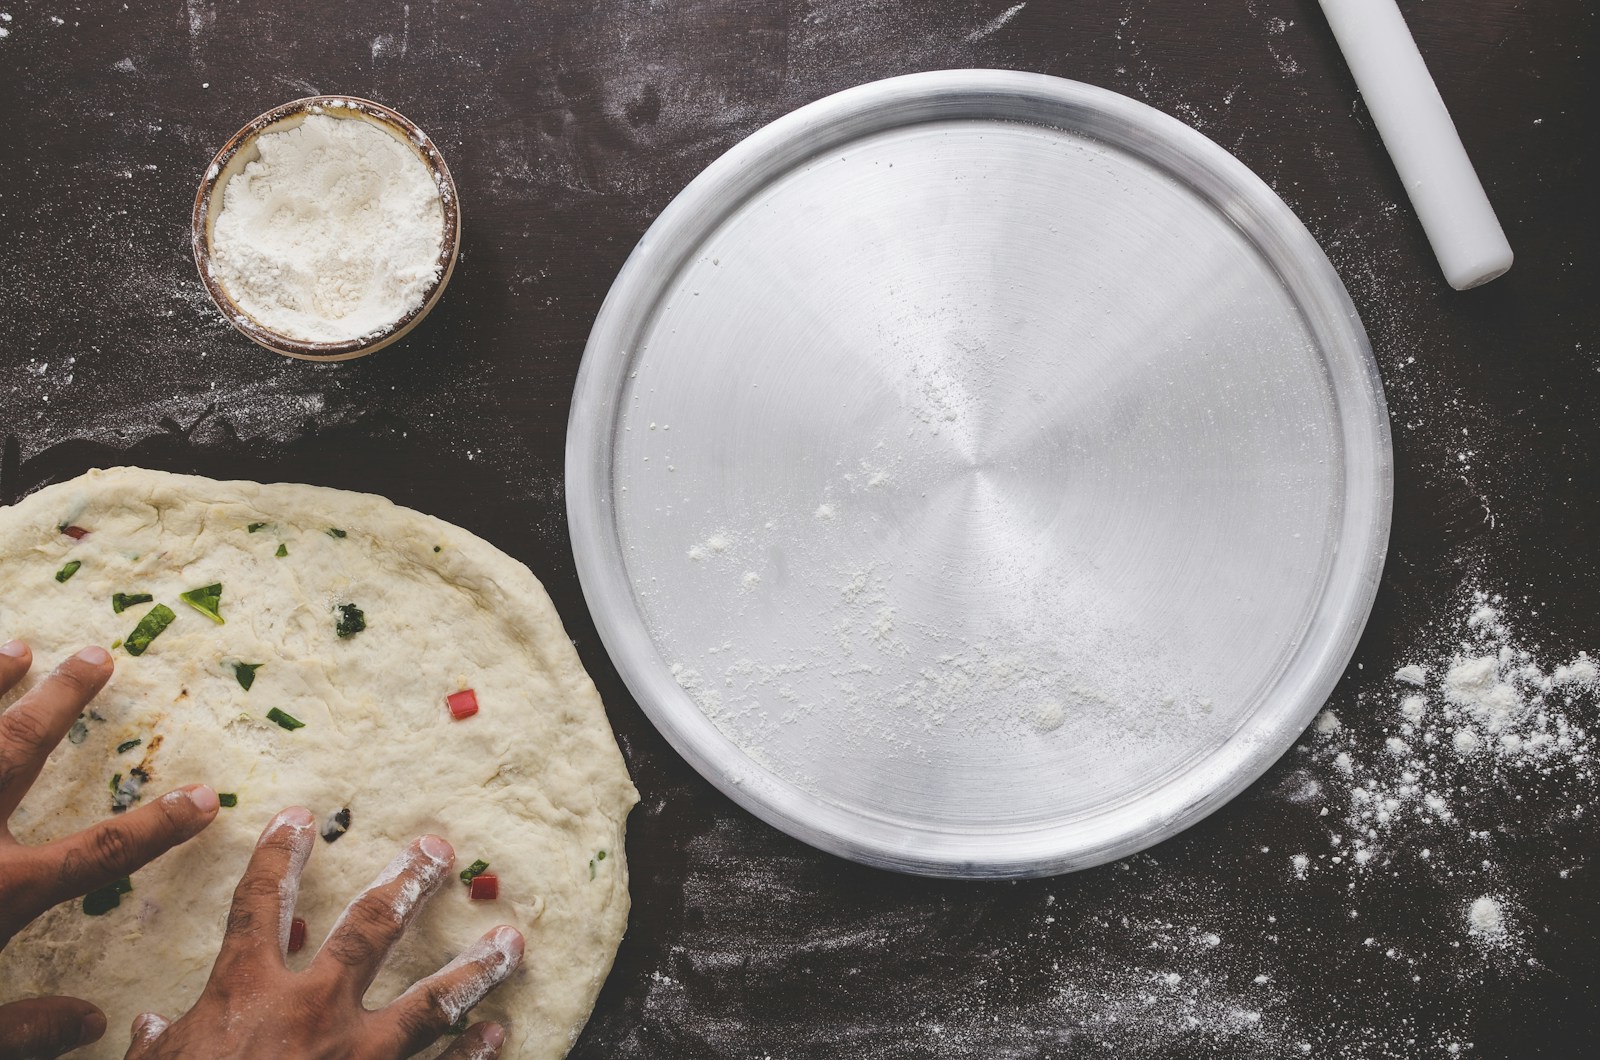
Homemade crusts for every mood and skill level
1. Introduction
When I first started making pizza at home, I thought there was only one kind of dough basic, yeasted, and usually a little too thick. But the deeper I got into it, the more I realized something important: not all pizza dough is created equal. And that’s a good thing.
Different methods bring out different textures, flavors, and vibes. Some are fast and perfect for weeknights. Others take time but deliver that chewy, charred crust you dream about after a trip to Italy. Whether you like it thin, fluffy, no-knead, sourdough, or gluten-free, there’s a dough for it.
In this post, I’m walking you through how to make pizza dough from super simple to impressively advanced. If you’ve never made dough before, don’t worry. I’ll start with beginner-friendly options and build up from there. If you’re more experienced, you’ll find some deeper dives too.
By the end, you’ll have a go-to recipe (or three), a better understanding of what makes each dough special, and the tools to whip up any style of crust right at home. I’ll also sprinkle in variations of popular search terms like homemade pizza dough, easy pizza dough recipes, and different types of pizza crust to help more folks find the method that works best for them.
Let’s get your hands a little floury.
2. Basic Ingredients for Any Pizza Dough
Before we dive into the different styles, let’s cover the backbone of every good pizza dough. Most versions whether classic or quirky share a short list of core ingredients:
-
Flour – Usually all-purpose or bread flour. High-protein flour gives you more chew. Whole wheat flour can add nuttiness.
-
Yeast – Either active dry or instant. This is what gives the dough rise and flavor.
-
Water – Lukewarm water (not hot!) wakes up the yeast.
-
Salt – Brings out the flavor and balances the yeast activity.
-
Olive oil – Not always necessary, but often included to tenderize the dough and add flavor.
Some styles swap in extras like sugar, yogurt, or sourdough starter. We’ll cover that in each method.
Tools You’ll Need:
-
A large mixing bowl
-
A kitchen scale (trust me, this makes things 10x easier)
-
A dough hook or mixer if you want to save your arms
-
A bench scraper for easy cleanup
-
Measuring spoons and cups (but weigh things when you can)
Optional but helpful:
-
A pizza stone or steel for the best crust finish
-
A dough box or airtight container for proofing
If you’re just getting started with your baking setup, you might want to check out my guide on the best flour for pizza dough or browse through some essential baking tools for beginners. A few small upgrades can take your dough game from “meh” to “wow” pretty quickly.
Next up, we’ll start with the most basic pizza dough method the one I use when I want pizza fast and don’t want to think too much.
Classic Neapolitan Pizza Dough
When it comes to pizza, nothing compares to the simplicity and elegance of a classic Neapolitan pizza dough recipe. If you’ve ever been lucky enough to try pizza in Naples, you know what I mean. The dough is light, airy, and has a perfectly chewy texture that balances well with the freshness of simple toppings. The crust is what makes this pizza so unique lightly charred on the edges, soft in the middle, and just a little crisp on the bottom.
So, what makes Neapolitan pizza dough so special? It’s the quality of ingredients and the method. This dough requires just four ingredients: 00 flour, water, salt, and yeast that’s it. No oil, no sugar. The simplicity is key. But don’t let that fool you there’s a real craft in making this dough, especially if you’re aiming for that ideal Neapolitan-style pizza.
-
00 Flour: This is a finely milled Italian flour that creates a smooth, soft dough. Unlike all-purpose flour, 00 flourhas a lower protein content, which makes the dough stretch easily without tearing. It also contributes to that soft, slightly chewy texture that’s a signature of Neapolitan pizza.
-
Long Fermentation: The dough needs time to develop flavor. I usually let mine rise in the fridge for 24 hours. The slow fermentation gives the dough more depth in flavor and results in a slightly tangy, well-rounded taste.
-
No Oil: Traditional Neapolitan pizza dough doesn’t include oil. The lack of fat helps the dough blister and puff up when exposed to the intense heat of a wood-fired oven. This results in that signature crispy yet soft crust with a hint of smoky flavor from the high heat.
Best for Wood-Fired Ovens: The ideal cooking environment for Neapolitan pizza dough is a wood-fired oven that can reach temperatures of 800°F or more. These ovens allow the dough to cook quickly, creating those characteristic charred spots on the crust. At home, I use a baking steel in my oven with the broiler set to high. It’s not quite the same as a wood-fired oven, but it gets pretty close, and it’s still a fantastic way to bake pizza.
Pro Tip: When topping Neapolitan pizza, keep it simple. This dough isn’t made to hold up to heavy, greasy toppings. A light spread of tomato sauce, a few fresh mozzarella balls, and a couple of basil leaves go a long way. Remember, less is more.
New York-Style Pizza Dough
Ah, New York pizza foldable, chewy, and slightly greasy. There’s something about a slice from a New York pizzeria that can’t be replicated anywhere else. The New York pizza dough recipe is all about creating a balance between chewy and crispy. It’s got that signature doughy pull, but it’s still thin enough to fold in half without falling apart.
The key to New York-style pizza dough is the flour you use and a couple of other tricks that give it the perfect chew.
-
High-Gluten Flour or Bread Flour: This flour has a higher protein content than all-purpose flour, which contributes to that chewier texture that’s so iconic in New York pizza. The more gluten you develop, the more satisfying the chew.
-
Olive Oil: Unlike the Neapolitan dough, New York pizza dough uses olive oil. This gives the dough a little extra softness and helps it brown nicely in the oven.
-
Sugar: A small amount of sugar helps activate the yeast and gives the dough a subtle sweetness, which balances out the saltiness of the cheese and toppings. It also contributes to a golden-brown crust.
Fermentation: Like the Neapolitan dough, New York-style dough benefits from an overnight fermentation process. This slow rise allows the flavors to develop more fully, so I typically mix my dough the night before and let it rest in the fridge. When I’m ready to bake, I pull it out, give it a quick stretch, and pop it in the oven.
Best for Home Ovens: You don’t need a fancy wood-fired oven for New York pizza dough. A standard home oven will work just fine, especially if you use a pizza stone or steel. I recommend preheating your oven for at least an hour at its highest temperature (usually 500°F). The stone or steel will absorb the heat and help mimic the crispiness of a pizza baked in a commercial oven.
Tip for Perfect Slices: The hallmark of New York pizza is the ability to fold a slice in half without it flopping. To get that perfect texture, make sure your dough is stretched thin but not too thin. It should hold up to the weight of cheese, toppings, and sauce without breaking.
Thin Crust Pizza Dough
When I’m craving something light and crispy, thin crust pizza is my go-to. This style is perfect for those who dislike chewy crusts and prefer a quick-baking, crispy pie. The thin crust pizza recipe uses a lower hydration dough, meaning there’s less water to form the gluten structure. This results in a crisper texture and a pizza that cooks much faster.
-
Low Hydration: Less water means the dough is less sticky and won’t rise as much, which is key to creating a crispy, thin base. I roll this dough out as thin as I can without tearing it about 1/8-inch thick, depending on how crispy I want it.
-
Quick Rise: Unlike the long fermentations needed for the other doughs, thin crust pizza dough can be ready in about 2 hours. You don’t need to wait overnight for the dough to develop; just mix, let it rest, and roll it out.
Baking Tips: The key to getting a crisp crust is to bake it at a high temperature. Preheat your oven as hot as it will go (typically 500°F or higher) and bake the pizza directly on a preheated stone or steel. This ensures that the bottom of the crust gets crispy while the toppings cook quickly without burning.
Ideal Toppings: Thin crust pizza is great for light toppings. I tend to go for classic Margherita (tomato, fresh mozzarella, basil), but it’s also great for things like pepperoni or roasted vegetables. Just keep it simple to let the crust shine.
Thick Crust / Pan Pizza Dough (Detroit or Sicilian Style)
If you’re a deep-dish lover, then this dough is for you. Thick crust pizza dough (whether you’re making Detroit-style or Sicilian-style) is all about rich, airy, and slightly fried crust with a deliciously crisp bottom. This dough requires high hydration, meaning there’s more water in the dough to create a fluffier texture.
-
High Hydration: The extra water helps the dough rise more and creates that soft, fluffy interior. But the real magic happens when the dough is pressed into an oiled pan and baked. The oil in the pan gives the crust a golden, slightly fried texture, especially around the edges.
-
Oil in the Pan: The trick to getting the perfect deep-dish pizza crust is the oil. Whether you use a cast iron pan or a steel pizza pan, the oil helps crisp up the bottom of the crust while also adding flavor.
Best for Pan Pizza: If you’re making Detroit-style pizza, the dough should be pressed into a rectangular pan. For Sicilian-style, a square pan works best. Both styles have thick, airy crusts, crispy edges, and a rich, chewy center.
Tip for Baking: One of the joys of this style is the crispy, cheesy edges. When I make Detroit-style pizza, I spread cheese all the way to the edges of the pan so it melts and crisps up. For Sicilian pizza, I often top with a layer of sauce after the cheese to keep the crust from getting soggy.
Ideal for Deep-Dish Lovers: This dough style is perfect for anyone who loves a hearty pizza with a substantial crust. It’s filling, comforting, and perfect for gatherings.
These four styles give you a wide range of textures and flavors, whether you’re in the mood for something light and crispy or rich and thick. Each dough has its own personality, and they’re all worth trying at home.
Sourdough Pizza Dough
There’s something truly magical about sourdough pizza dough. If you’ve ever made or tasted sourdough bread, you’ll know exactly what I mean. The unique, tangy flavor that comes from natural fermentation adds depth to the dough and results in a pizza that’s anything but ordinary. Sourdough pizza crust recipe takes a little patience and time, but the payoff is worth it.
What Makes Sourdough Different?
The beauty of sourdough pizza dough lies in its natural fermentation process. Instead of using commercial yeast, sourdough relies on a sourdough starter a culture of wild yeast and bacteria that naturally occur in the environment. This slow fermentation process gives the dough its distinct tangy flavor and amazing texture. The dough rises over time, developing bubbles and a chewy, airy structure that’s perfect for pizza.
I’ve found that sourdough dough has a richer, more complex flavor than other doughs. The longer it ferments, the more pronounced the tang, which pairs beautifully with classic pizza toppings like fresh tomatoes, mozzarella, and basil. The dough also has a slightly chewy and crispy texture that makes each bite satisfying.
The Sourdough Starter
Before making the dough, you’ll need a sourdough starter. You can buy one, but I recommend making your own for the freshest, most authentic flavor. It’s simple just mix flour and water and let it sit for several days, feeding it with more flour and water until it becomes bubbly and active. If you don’t have a starter yet, I suggest starting a few days ahead of time to let it develop.
The Rise Time
One of the main differences between sourdough pizza dough and other pizza doughs is the rise time. While most doughs can rise in just a few hours, sourdough dough requires a longer fermentation time. I usually let mine rise for at least 12 hours, and sometimes I’ll do an overnight rise in the fridge. The longer the dough ferments, the more flavor develops. After the rise, I shape the dough into pizza rounds and let it rest for an additional 30 minutes before baking.
Baking Sourdough Pizza
When it comes time to bake, sourdough pizza dough can handle high heat just like other pizza doughs. However, it benefits from a pizza stone or steel in the oven. I preheat my oven to 500°F or higher and let the pizza stone heat up for about 45 minutes before sliding in the dough. The result is a beautifully bubbly, slightly charred pizza with a crisp, flavorful crust.
Why Try Sourdough Pizza Dough?
If you’re into natural fermentation and you love a pizza that’s full of flavor, then sourdough pizza dough is for you. It takes more time and patience than other doughs, but the results are truly worth it. Not only do you get that delicious, tangy flavor, but you also get a crust that’s airy, chewy, and perfect for any topping.
No-Yeast Pizza Dough (Quick Dough)
Sometimes, you just want pizza right now. If you’re craving a homemade pizza but don’t have the time to wait for dough to rise, no-yeast pizza dough is your answer. This is a super fast option that uses baking powder or self-rising flourinstead of yeast, meaning you can go from mixing the dough to baking the pizza in about an hour.
The Magic of Baking Powder
When you use baking powder, it acts as a leavening agent, just like yeast, but much faster. The dough will rise as it bakes, giving you a slightly thick and chewy crust without the hours of waiting. The beauty of instant pizza dough is that it’s simple no need to worry about proofing yeast, letting it rise, or worrying about temperature. Everything is right there in the dough, ready to go.
How to Make It
To make pizza dough without yeast, you only need a few ingredients:
-
Self-rising flour (or all-purpose flour with a little baking powder)
-
Baking powder (if you’re using regular flour)
-
Olive oil
-
Water
-
Salt
Mix all the ingredients together until a dough forms. The key to this dough is not to overwork it mix just enough until it comes together. Unlike other doughs, there’s no need for kneading. Once the dough is formed, simply roll it out, top it with your favorite ingredients, and bake at 450°F for about 10–15 minutes.
Why It’s Great for Busy Days
If you’re short on time or just want a no-fuss dough, no-yeast pizza dough is a fantastic choice. It’s incredibly easy to work with and can be on the table in less than an hour. The texture will be a little more biscuit-like compared to traditional pizza dough, but it still makes for a delicious and satisfying crust.
I love using this dough when I need something quick for a family pizza night or when I’m craving pizza but don’t want to wait around. It’s a great way to whip up a fresh pizza without all the preparation time.
Gluten-Free Pizza Dough
For anyone who needs to avoid gluten, making gluten-free pizza dough can be a bit of a challenge. Gluten is what helps traditional dough hold its shape and gives it that wonderful stretchiness. Without it, the dough can be crumbly and difficult to work with. But don’t worry, I’ve found some great substitutes that work surprisingly well, so even those who follow a gluten-free diet can enjoy a crispy, chewy pizza crust.
Key Ingredients for Gluten-Free Pizza Dough
To make a great gluten-free pizza dough, you’ll need a blend of gluten-free flours and binding agents. The most common gluten-free flours I use are rice flour, tapioca starch, or almond flour. Each flour brings its own unique texture and flavor to the dough, so you may need to experiment to see which one you prefer.
-
Rice Flour: This flour gives the dough a nice texture and helps hold everything together. It’s light and makes the crust crisp up beautifully when baked.
-
Tapioca Starch: This starch adds chewiness to the dough and helps with elasticity. It’s essential for creating a dough that holds up when you top it with sauce and cheese.
-
Almond Flour: For a slightly nutty flavor, almond flour works well in gluten-free pizza dough. It adds richness and a slightly more tender texture.
To help bind the dough together, I use psyllium husk or xanthan gum. These ingredients help create structure and give the dough its stretchiness, which is typically hard to achieve without gluten.
The Dough Process
Making gluten-free pizza dough is similar to regular dough, but with a few important differences. Because there’s no gluten to work with, the dough won’t rise or stretch in the same way. Instead of kneading it for a long time, I mix the dough until it’s smooth and slightly sticky. I then let it rest for about 30 minutes to hydrate the flours and allow the dough to firm up.
Tip: When working with gluten-free dough, I use parchment paper to roll it out. This prevents the dough from sticking, as it’s much more delicate than traditional dough.
Baking Tips
Gluten-free pizza dough requires a hot oven to achieve the perfect crust. I preheat my oven to 475°F and bake the pizza directly on a pizza stone or steel to ensure a crispy bottom. I bake it for about 10–15 minutes, depending on how thick I’ve rolled out the dough. The result is a crisp, golden crust with a tender inside.
Why Gluten-Free Pizza Dough is Worth It
Gluten-free pizza dough may take a bit more trial and error, but when you get it right, it’s an absolute treat. The crust is crisp, flavorful, and holds up well under all the toppings. For anyone avoiding gluten, this recipe is a game-changer. With the right combination of flours and binding agents, you can achieve a dough that rivals traditional pizza dough in texture and flavor.
Comparison Chart: All 7 Dough Types
Sometimes, it’s easier to make a decision when you can see everything laid out in front of you. Here’s a side-by-side chart of all seven pizza dough types I’ve covered, so you can quickly compare their key characteristics. Whether you’re aiming for a chewy New York-style crust, a light and airy Neapolitan pizza, or a no-fuss no-yeast dough, this chart will help you choose based on your needs.
| Dough Type | Flour Type | Rise Time | Texture | Difficulty |
|---|---|---|---|---|
| Classic Neapolitan Pizza | 00 Flour | Long (12-24 hours) | Thin, airy, and slightly chewy | Intermediate (requires patience) |
| New York-Style Pizza | High-gluten Flour | Medium (2-4 hours) | Chewy, foldable crust | Intermediate (easy to handle) |
| Thin Crust Pizza | All-purpose Flour | Medium (1-2 hours) | Crispy, fast-cooking | Easy (quick preparation) |
| Thick Crust / Pan Pizza | All-purpose Flour | Long (12-24 hours) | Puffy edges, slightly fried bottom | Advanced (requires hydration management) |
| Sourdough Pizza Dough | Bread Flour (and Sourdough Starter) | Very Long (12-48 hours) | Tangy, chewy, airy | Advanced (requires starter) |
| No-Yeast Pizza Dough | Self-rising Flour or All-purpose Flour | Short (0.5-1 hour) | Biscuit-like, slightly thick | Very Easy (quick and simple) |
| Gluten-Free Pizza Dough | Rice Flour, Tapioca Starch, Almond Flour | Medium (1-2 hours) | Crisp, tender, slightly crumbly | Intermediate (requires care with binding agents) |
This chart helps to quickly identify which type of dough fits your needs. For example, if you’re looking for a fast, easy option, the no-yeast pizza dough might be your best bet. If you have a bit more time and are up for a challenge, sourdough offers a beautifully complex flavor. The classic Neapolitan pizza is perfect for those who want a professional-style pie but need to plan a little ahead.
Pro Tips for Perfect Dough Every Time
Making pizza dough from scratch is a satisfying process, but it does require attention to detail. Over the years, I’ve picked up a few tricks to get the dough just right every time, no matter which type you’re making. Here are some tips to help ensure your dough turns out perfect:
Temperature Control
One of the most important factors in making pizza dough is temperature. Yeast works best when it’s warm but not too hot. If the water or environment is too cold, the dough will rise slowly or not at all. If it’s too hot, it can kill the yeast. I recommend keeping the water temperature around 100°F to 110°F. For sourdough, the fermentation temperature should ideally be between 70°F and 75°F.
Resting and Proofing Tips
Resting and proofing dough is crucial to developing the right texture. For most doughs, after mixing the ingredients, I let the dough rest for about 10-15 minutes before kneading it. This allows the flour to fully hydrate. Then, I place the dough in a lightly oiled bowl and cover it with a damp cloth to rise. For a good rise, make sure the dough is kept in a warm, draft-free place.
When it comes to proofing, the longer you let your dough rest, the more flavor will develop. Sourdough is a prime example of this. If you have the time, allowing the dough to rise slowly over several hours or overnight will give you better results. For no-yeast pizza dough, proofing time is much shorter, as there’s no yeast to activate, but you still want to let it rest to avoid a dense crust.
How to Store or Freeze Each Dough Type
Not all pizza doughs need to be used immediately, and you can save time by making dough in advance. Here’s how to store or freeze different types of dough:
-
Classic Neapolitan, New York-Style, Thin Crust, and Pan Pizza Doughs: These doughs can be stored in the fridge for up to 3 days. If you want to freeze them, simply portion out the dough, wrap it tightly in plastic wrap or place it in a zip-top bag, and freeze for up to 3 months. When you’re ready to use it, let it thaw in the fridge overnight before bringing it to room temperature.
-
Sourdough Pizza Dough: Because of the long fermentation process, sourdough dough benefits from a slow rise in the fridge. I typically make my sourdough pizza dough a day in advance and let it ferment overnight. It can also be frozen the same way as other doughs, but keep in mind that the texture may slightly change upon thawing.
-
No-Yeast Pizza Dough: This dough is best used fresh, but if you need to freeze it, wrap it tightly and freeze for up to 1 month. When you’re ready to use it, thaw it in the fridge for a few hours, then roll it out and bake as usual.
Final Thoughts on Pro Tips
The secret to perfect pizza dough lies in controlling the temperature and giving your dough enough time to rest and rise. While you can certainly make pizza dough quickly, allowing it time to ferment whether through sourdough or a slow rise will always produce a richer flavor. If you’re storing dough, always make sure it’s wrapped tightly to prevent it from drying out or forming a crust on top.
FAQs
Now, let’s tackle some of the most common questions I get about pizza dough.
Can I Freeze Pizza Dough?
Yes, you can freeze pizza dough! This is a great way to have fresh dough on hand whenever you need it. After the dough has risen, portion it out, wrap it tightly in plastic wrap, and place it in a freezer bag. You can freeze it for up to 3 months. When you’re ready to use it, let it thaw in the fridge overnight before using it. For no-yeast dough, it’s best used fresh, but freezing is still an option if needed.
What’s the Best Flour for Pizza Dough?
The best flour depends on the type of pizza dough you’re making. For a traditional Neapolitan pizza dough, you’ll want 00 flour, which is finely ground and gives that soft, airy texture. If you’re making a New York-style pizza dough, go for high-gluten flour to get that chewy, foldable crust. For gluten-free dough, a mix of rice flour and tapioca starch is a good starting point.
How Long Should Dough Rise?
The rise time varies depending on the dough type. Generally, most doughs should rise for 1-2 hours in a warm place. However, some types like sourdough pizza dough benefit from a longer rise, anywhere from 12 to 48 hours depending on how much time you have. Always let the dough double in size before using it.
How Do I Know If My Dough Is Ready?
To test if your dough is ready, I do a simple “poke test.” After the dough has risen, gently poke your finger into the dough. If the indentation springs back slowly, it’s ready. If it springs back quickly, give it more time to rise.
Conclusion
There you have it, seven different ways to make pizza dough! Each recipe offers a unique texture, flavor, and baking experience, from the tangy depth of sourdough pizza dough to the quick and easy no-yeast pizza dough. Now that you know how to make pizza dough in all these different ways, why not try a new one each week? Experiment with different doughs, flavors, and toppings. You’ll be amazed at how much you can learn and enjoy through the simple process of making pizza from scratch.
Ready to try your hand at pizza dough? Start with the one that sounds most exciting to you and get baking! Let me know how it goes I’d love to hear what dough you try first.